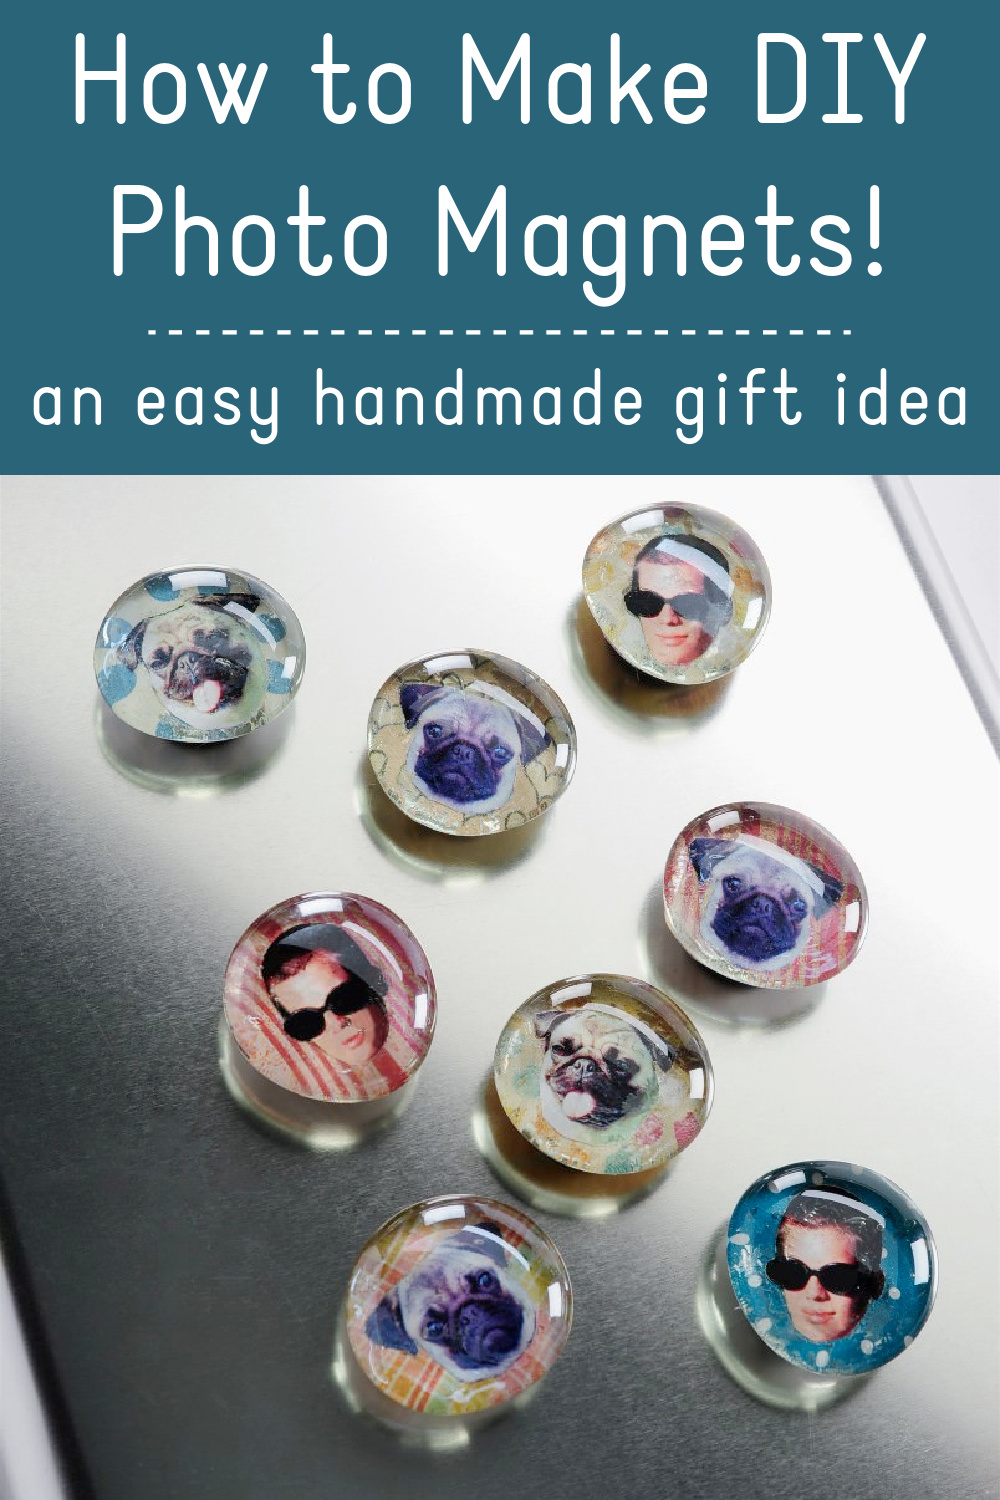
End of the Year Art Projects for Elementary Photo Magnets
Leap to How-To
These Piece of cake DIY photograph magnets are and so elementary that fifty-fifty a kid can make them! Requite these glass magnets every bit photo gifts, apply them as party favors, or go on the kids busy during summertime interruption.
Skills Required: Beginner. If you tin cut out paper with pair of scissors, y'all tin can make these photo magnets! The time required to make these is minimal, and you can make a lot of these picture show magnets at once. You don't have to worry nigh any wrinkles in this project.
Are you ready, my friends, to make the easiest craft projection y'all've ever made in your life? Then you lot're ready for these DIY picture magnets! I've made clothespin magnets and bottlecap magnets, but not the glass marble type.
It took me forever to finally try making DIY glass magnets like these, and I thought it would be the perfect time to try while looking for a quick arts and crafts idea. Making fridge magnets is pretty quick and I tin't believe I haven't tried the glass version before.
The analogy is living in Seattle and never going to the Space Needle. It'south always seemed too obvious, so I've never done it.
I promise you will forgive me, because I think the picture I'grand almost to show you of myself will make up for everything. It'south a picture I used it in this project:

Aye, it's me. I shaved my head when I was 22 years quondam. My hair was long, past my shoulders, and I had a beau at that time who didn't know I shaved my head until he came over to my business firm and saw it. Yipes (he didn't listen).
Why did I do it, you enquire? After having long hair for my whole (adult) life, I wanted to know what it felt like to take short hair.
I wasn't certain how to cut information technology, and so I shaved it off – and didn't fully realize what happened until the hair was on the ground. I approximate doing wild stuff is the fun part of being young. But I digress . . .
DIY Photo Magnets
These photograph magnets are easy to brand (they're a groovy craft for teens or adults), but I exercise have a few tips and commonly asked questions I wanted to address before nosotros jump into the tutorial.
I originally published this tutorial in 2011 and since so, this is what people want to know. You can read this section or continue to scroll for the how-to.
Type of Chaplet/Marbles
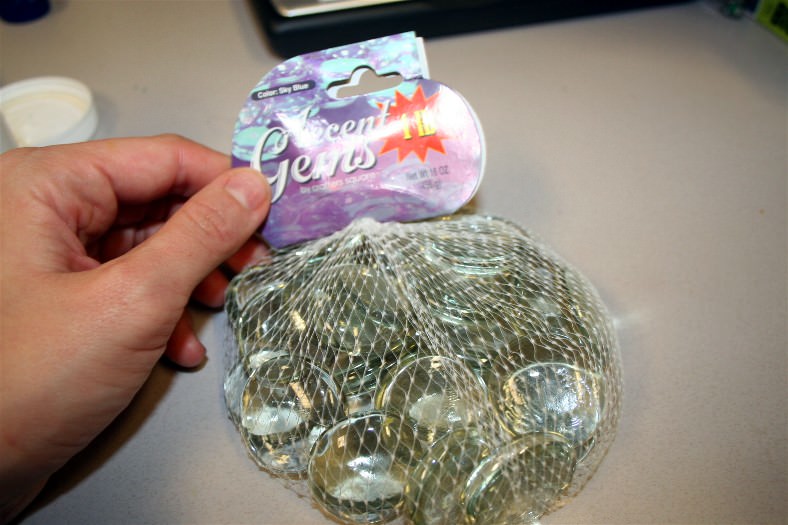
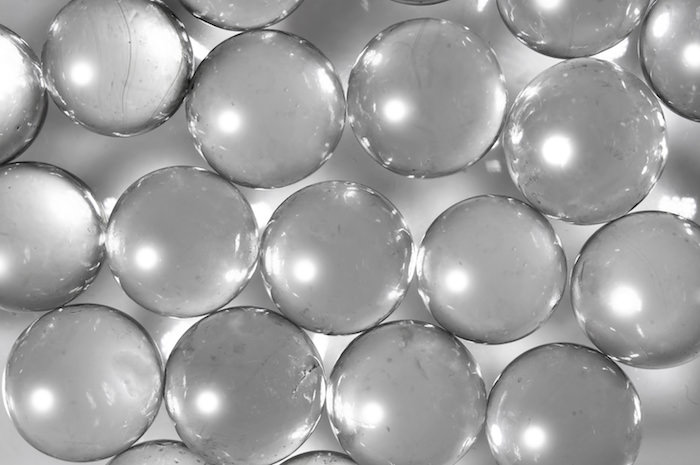
For these moving-picture show magnets you're going to be looking for "flat backed" beads or marbles (they might likewise be called glass gems or accent pebbles). They are commonly used in floral displays I've institute.
The flat back is and then that you tin can glue a magnet to the back, so that office is important! Also you want something that you tin can see through (even if it's not clear). The marbles you select for your glass bead magnets should exist transparent.
Where to Buy Them
For these pic magnets, I got a 1-lb. bag of drinking glass beads at Dollar Tree. I don't know if they are e'er there – but I know that the craft store has them in the floral section.
In addition, I institute them on Amazon and also on Wish (which is expert if you want a large quantity for favors). MAKE Sure they accept flat backs on i side!
Personalization Ideas
You can apply photos to personalize your DIY glass magnets, however, I do recommend making laserjet copies of the existent photos then you don't get any bleed.
Photos are cute for handmade gifts or wedding favors. Just you don't *have* to use photos; you tin use anything. The idea is to choice a scrap of something (the magnets will end upward being about one″ or and then) that has pregnant to you or to the recipient.
Paper, Fabric, and More than
You lot can utilize a multifariousness of materials on the back of the magnets: scrapbook paper, tissue newspaper, printed patterns (get for laserjet), fabric, wrapping paper, foil, maps, cardstock, rice paper, and more.
You can paint on the back likewise. For instance, you could put some Sparkle Modern Podge on the back of the marble, let dry out, so paint. Your DIY glass magnets can be anything y'all want them to exist!
Mod Podge Formula to Employ with Glass Magnets
Because glass is shiny, I pretty much ever utilise Mod Podge Gloss when glass is my surface. It's but a personal preference, and yous can apply any formula you like to be honest.
The only formula I wouldn't recommend using is Dimensional Magic. Dimensional Magic is meant to provide a 3-D event on top of surfaces, not to adhere. Stick with Gloss, Matte, or Satin (but other formulas work also).
Are you lot gear up to run across how the glass magnets were fabricated?? Continue reading!
Gather These Supplies
- Computer and printer/scanner
- Photos to scan
- Mod Podge Gloss
- Scrapbook newspaper scraps
- Glass beads – my 1 lb. bag is from Dollar Tree
- Magnets
- Hot glue gun
- Pencil or pen
- Paintbrush
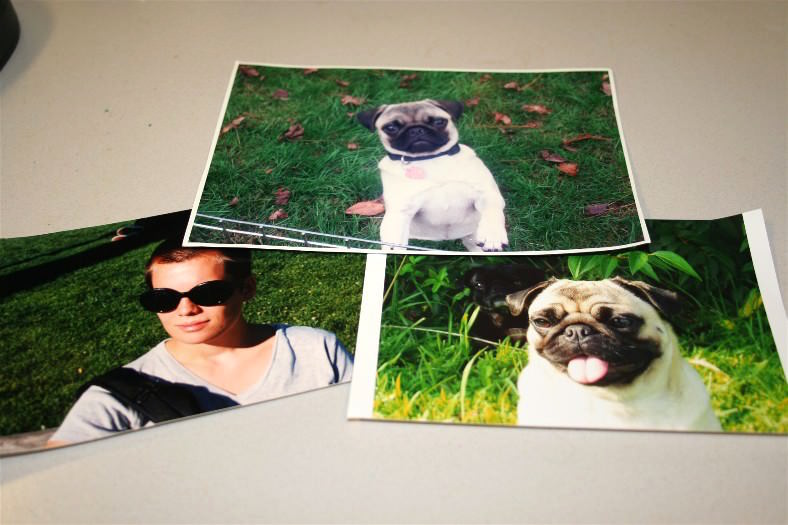
I wanted to commemorate the shaved caput times also as my pug Roxie, both when she was immature and now. Here are the pictures I chose:
If you use regular photos, scan them in and print them out (preferably on laserjet). I will say that if you have an HP printer, it uses a dry ink, so you're probably condom. Yous can too let the print outs dry overnight and then seal them with hair spray both sides. This prevents ink from bleeding.
Use photo software (similar PicMonkey) to ingather out role of the photo (a elementary circle shaped crop), and so I printed a few copies in different sizes to see what would piece of work for my glass marbles.
Y'all can cut out just the caput shapes – I wanted floating heads on the back of the glass magnets, because that is more funny. Set the heads aside.
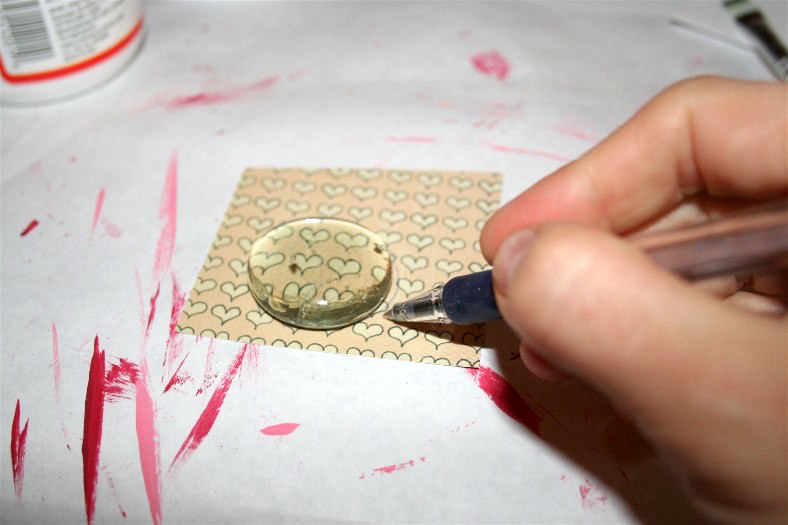
The glass marbles are not completely round, so trace them onto your scrapbook paper pieces and then cut out the shapes just inside the lines.
This is a neat chip buster project, past the manner – it takes simply a small amount of backlog paper to brand them!
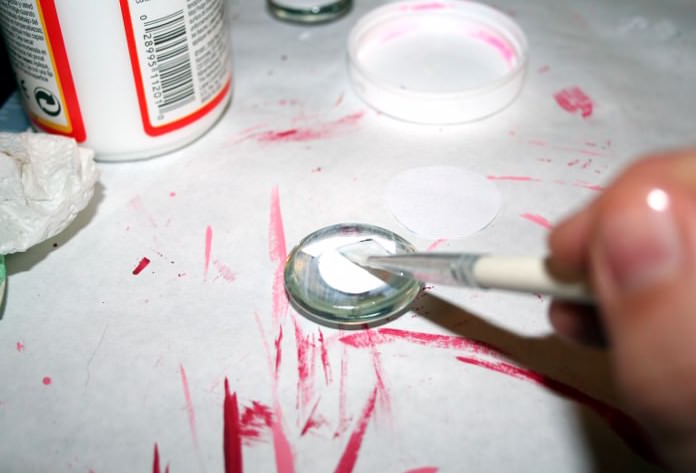
Use your Mod Podge to adhere the face (right side down on the flat side of the marble); use a thin layer or it's never going to dry. Smooth it with your fingers and allow to dry for fifteen – 20 minutes.
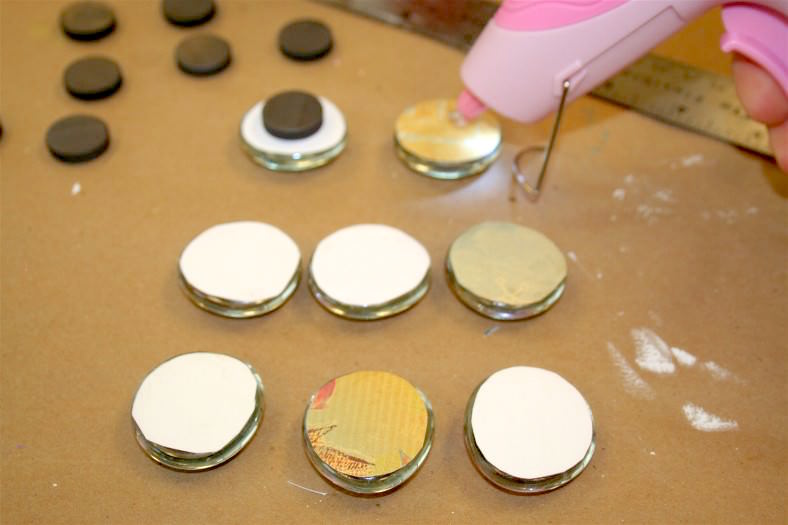
Adhere the scrapbook paper (correct side down) on to the marble, allow to dry overnight and then hot glue to the magnets to the back. Don't you love my cordless hot glue gun with a headlight?
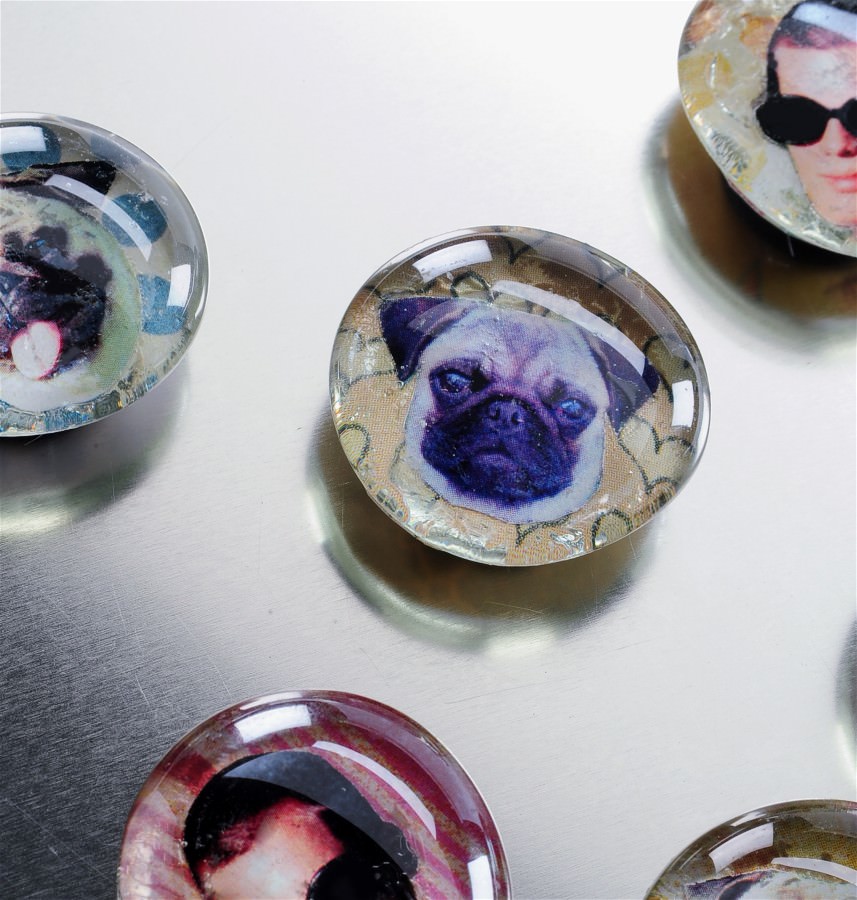
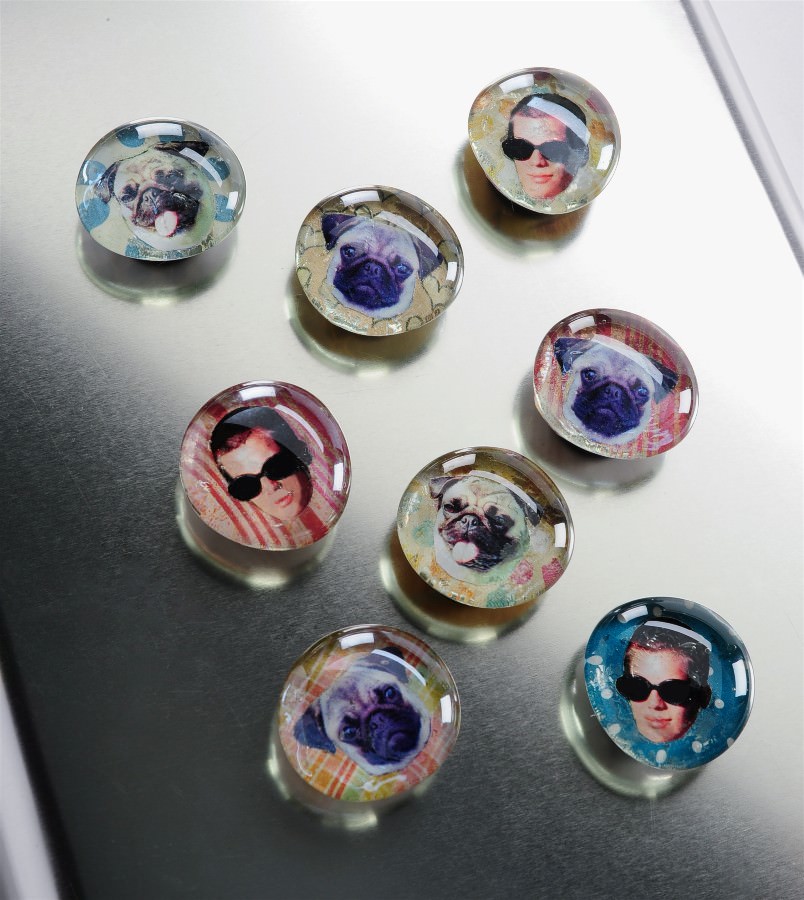
Here are the finished custom photo magnets. They brand such a great stop of summer craft to capture summer memories or fun photos. What well-nigh a instructor gift idea or back to school? The possibilities are endless.
I'd honey to see you try these DIY movie magnets and permit me know how they turn out in the comments!
Prep Fourth dimension 10 minutes
Agile Time xxx minutes
Full Time 40 minutes
Difficulty Easy
Estimated Cost $2
Materials
- Photos to browse
- Mod Podge Gloss
- Scrapbook newspaper scraps
- Drinking glass beads
- Magnets
Tools
- Estimator and printer/scanner
- Hot mucilage gun
- Pencil or pen
- Paintbrush
Instructions
- Utilise photo editing software to size your images to fit your glass marbles; print out using a laserjet or dry ink printer.
- Cut out your photograph shapes and set bated.
- The glass marbles are non completely round, then trace them onto your scrapbook newspaper pieces and then cut out the shapes but inside the lines.
- Employ Modernistic Podge to adhere the face (right side down on the marble). Smooth and allow to dry for 15 - 20 minutes.
- Adhere the scrapbook paper (right side downwardly) on to the marble, allow to dry overnight.
- Hot glue to the magnets to the back to finish.
Want some additional easy budget project ideas? Check out these other posts:
Source: https://modpodgerocksblog.com/fun-face-glass-magnets/
0 Response to "End of the Year Art Projects for Elementary Photo Magnets"
Post a Comment